Pitched Roof Window 80 x 150 cm Frameless Fixed Triple Glazed UW 0.9
Pitched Roof Window 80 x 150 cm Frameless Fixed Triple Glazed UW 0.9
Available in stock (12)
Roof window in 800 × 1500 mm – triple-glazed (Uw approx. 0.9 W/m²K). For maximum light incidence and strong thermal insulation.
Technical Key Data
- Design: framed · fixed
- Glazing: triple (safety glass depending on the version)
- Dimensions: 800 × 1500 mm
Advantages
- Plenty of daylight and clear optics
- Low maintenance due to fixed design
- Plannable connections with suitable accessories
Notes
- Please check rough opening dimensions and roof structure (sealing/insulation).
- For questions: send dimensions/sketch – we will check the appropriate version.
-
Lieferzeit: Jul 08 - Jul 12
Don't miss out: This offer is for a limited time only and while supplies last.
Technical Data & Glazing
Technical Data & Glazing
Technical Data
- Product Type: Fixed Skylight for Pitched Roofs
- Dimensions: Interior/Exterior dimensions according to selected size/variant
- Weight: depends on size and glass construction
- Thermal Insulation: U-/Uw-value according to variant (if specified)
- Glazing: Multiple glazing (e.g., double/triple – depending on design)
- Spacer: Warm-Edge (depending on design)
- Gas Filling: e.g., Argon (depending on design)
- Glass: Safety glass possible (e.g., toughened/laminated – depending on product/variant)
Note: The specifications in the selected variant and, if applicable, technical documents/drawings are authoritative.
Installation Instructions (Pitched Roof)
Installation Instructions (Pitched Roof)
Installation - concise & practical
Structural preparation (customer-provided)
- Create roof cutout and load-bearing substructure according to roof assembly
- Ensure adjoining surfaces are clean, dry, and dust-free
- Professionally ensure roof pitch and water drainage (roofing/underlayment)
Installation & Roof connection
- Align and fasten roof window according to installation instructions
- Integrate roof connection (e.g., connection kit/flashing frame) system-compatibly
- Execute sealing/connection details such that water is safely drained
Important note
- For function, watertightness, and warranty, installation according to the installation and maintenance manual is crucial.
Tip: For large formats, we recommend installation with sufficient personnel and suitable lifting/suction accessories (depending on weight).
Shipping & Delivery (EN)
Shipping & Delivery (EN)
Shipping & Delivery
- Free shipping nationwide within Germany (unless otherwise indicated in the shop)
- Delivery time: Stock items usually 2–8 business days; non-stock/custom versions usually 3–6 weeks
- Notification: via phone/SMS/email possible depending on the service provider
- Freight forwarding: Delivery generally curbside; ensure unloading assistance/personnel on site
Note: Please inspect goods upon delivery and, in case of visible damage, document it immediately (delivery note/scanner + photo/video) and coordinate with us before assembly.
Your payment details will be processed securely. We do not store credit card information and have no access to your card data.
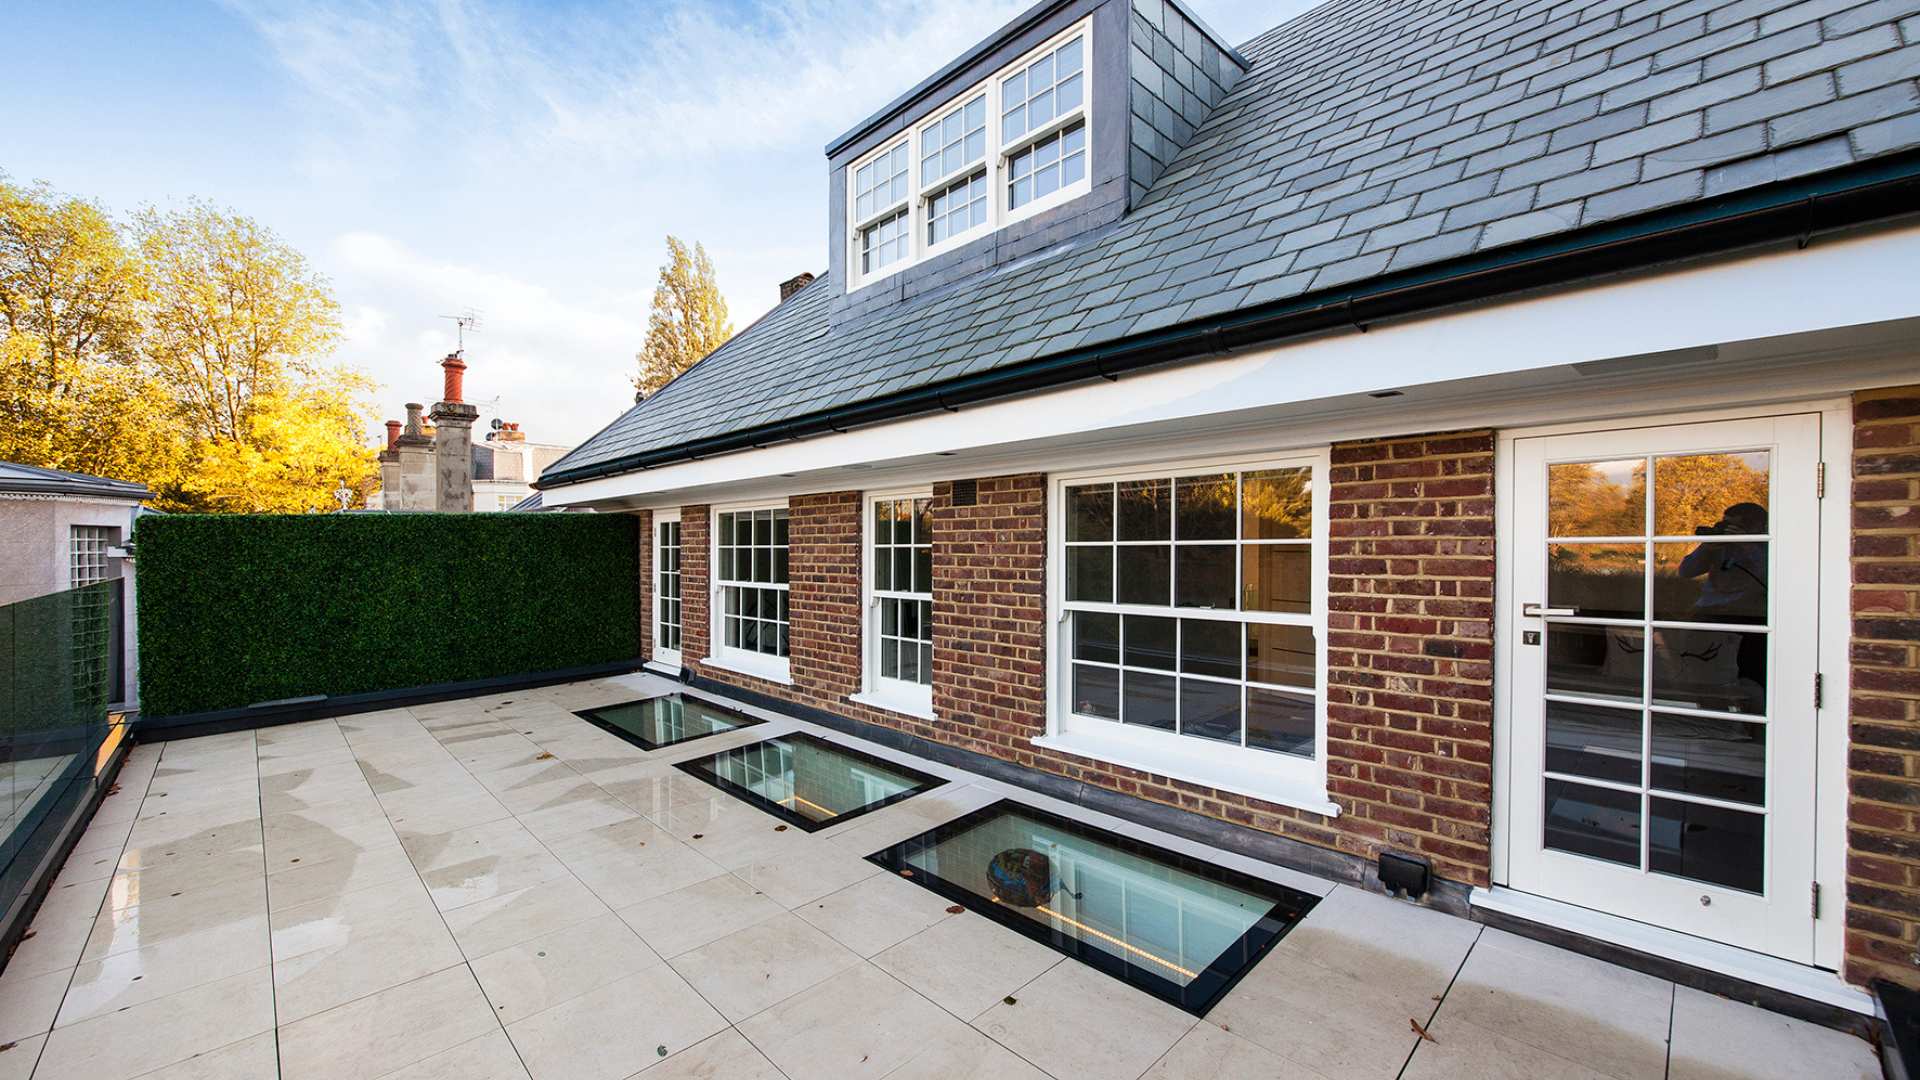
Step-by-step: Roof opening, flashing kit, and professional waterproofing
For roof windows in a pitched roof, a professional roof connection is crucial: with suitable connection and installation kits (e.g. depending on the roofing material), the connection to the underlay/roof waterproofing and roofing is systematically implemented.
Note: Screws/fasteners, timber substructure, and material-specific sealing membranes and roofing materials must be provided by the customer and are not automatically included.
Prepare components
Lay out all set components ready for use. Ensure surfaces in the connection area are clean, dry, and load-bearing.
Check upstand/opening
Construct upstand / substructure according to roof structure and check for evenness. Account for tolerances for stress-free installation.
Apply glazing tape
Place the structural glazing tape stress-free and all-around on the intended support surface – as a defined, damping support.
Apply sealant
Apply sealant all around according to manufacturer's instructions. Ensure clean joints, sufficient layer thickness, and continuous sealing.
Install roof connection
Integrate the connecting strip/flashing system-appropriately into the roof waterproofing so that water is safely drained and the connection remains permanently sealed.
Install skylights
Install, align, and seal the roof window according to the installation instructions. For warranty and watertightness requirements, installation according to the manual is decisive.