Flat roof 133.5 x 133.5 cm roof exit electric skylight
Flat roof 133.5 x 133.5 cm roof exit electric skylight
Out of stock
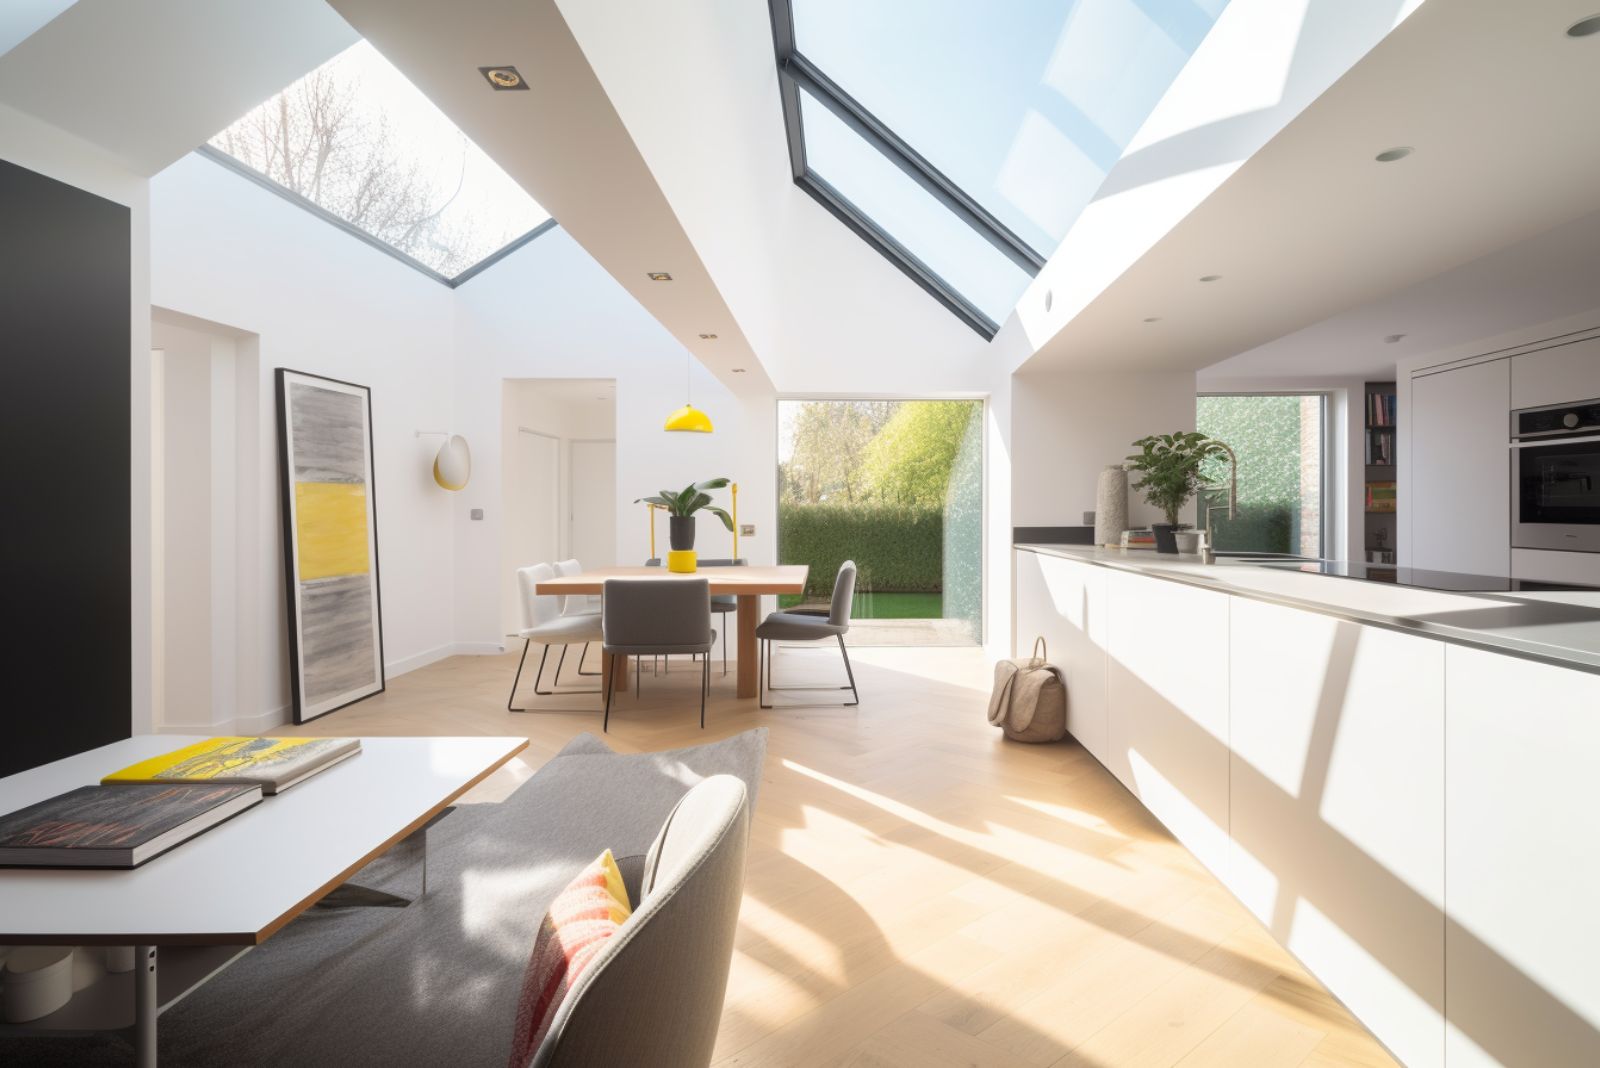
Electrically opening roof window in 1335 × 1335 mm – double-glazed. Convenient ventilation at the touch of a button.
Technical Key Data
- Version: electrically opening
- Glazing: double (safety glass depending on the version)
- Dimensions: 1335 × 1335 mm
Advantages
- Effortless ventilation – ideal for bathroom, kitchen, living room
- Thermal insulation through multiple glazing
- Optionally expandable with sun protection/accessories
Notes
- Check power connection and installation situation in advance.
- For project consultation: send photos, roof structure, and desired operation.
-
Delivery time: Jul 08 - Jul 12
Don't miss out: This offer is for a limited time only and while supplies last.
Specifications: Dimensions & Design
Specifications: Dimensions & Design
Technical Specifications
The technical specifications apply to the selected variant (dimensions, design, glazing/accessories). The information in the product description and, if applicable, in the order confirmation is decisive.
- Product category: Roof window (flat roof/pitched roof), roof lantern, skylight, walk-on glass or accessories
- Dimensions: according to selected size/variant
- Design: fixed or opening (manual/electric, if available)
- Glazing/safety glass: depending on the product, e.g. toughened safety glass/laminated safety glass and multiple glazing
- Energy performance values: e.g. U-values/Uw-values, if specified for the variant
- Scope of delivery: see item description (e.g. upstand, mounting accessories, operating elements)
Tip: For planning & tendering, we recommend referring to the technical drawing or installation documents, or contacting us.
Product Details: Benefits & Applications
Product Details: Benefits & Applications
SkyGlas stands for roof windows and glass solutions that combine daylight, comfort, and seamless integration into the roof structure. Depending on the product, the design is suitable for living spaces, stairwells, hallways, extensions, or commercial areas.
Advantages (depending on the variant):
- More daylight: clear optics and high light output
- Comfort: fixed or opening (manual/electric, if available)
- Safety: safety glass (e.g., tempered/laminated safety glass) depending on the design
- Energy efficiency: tailored to modern insulation standards (variant-specific)
- Planning reliability: defined dimensions, variants, and accessories suitable for the roof structure
Materials & Care: Glass/Profile/Accessories
Materials & Care: Glass/Profile/Accessories
Materials
- Glass: depending on the product, e.g., safety glass (ESG/VSG) and multiple glazing
- Profiles/Components: depending on the design, e.g., aluminum, PVC, or wood
- Accessories: e.g., upstand, blinds, controls (product-dependent)
Care & Cleaning
- Glass surfaces: clean with a soft cloth and mild glass cleaner
- No abrasives: no aggressive cleaners, no rough sponges
- Exterior surfaces: rinse with clear water if necessary (depending on the coating)
Maintenance
- Regular visual inspection of connections/seals is recommended as part of usual roof maintenance (e.g., after a storm).
Your payment details will be processed securely. We do not store credit card information and have no access to your card data.
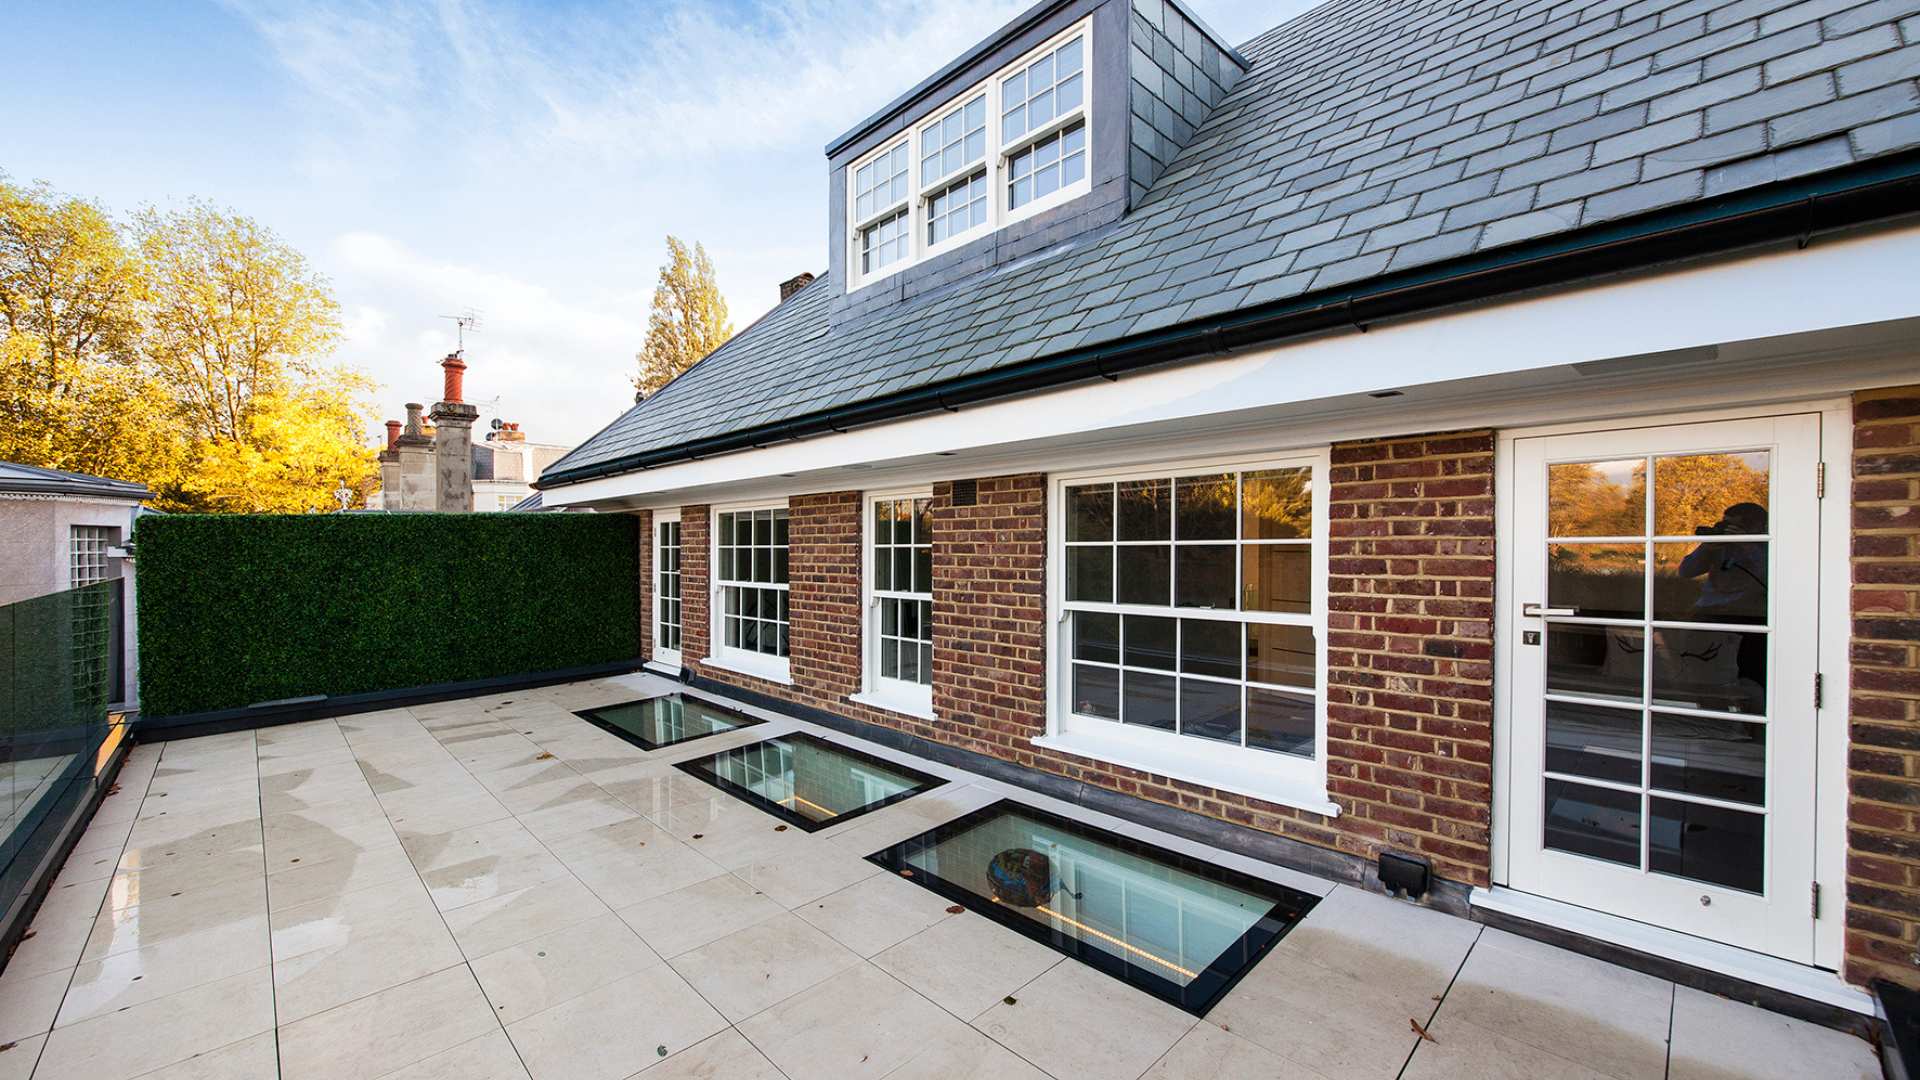
Installation in clear steps: from the opening to the sealed connection
With suitable mounting and connection components, installation is structured and reproducible: depending on the product, this includes connection material, sealing components and - if provided - pre-assembled elements. Please always choose accessories to match the variant and the roof structure.
Note: Screws/fasteners and on-site sealing membranes (e.g. EPDM/bitumen/foil) are - depending on the substrate and roof structure - not automatically included.
Prepare components
Lay out all set components ready for use. Ensure surfaces in the connection area are clean, dry, and load-bearing.
Check curb / opening
Install curb / substructure according to roof structure and check for evenness. Consider tolerances for stress-free installation.
Apply glazing tape
Place the structural glazing tape stress-free and all-around on the intended support surface – as a defined, damping support.
Apply sealant
Apply sealant all around according to manufacturer's instructions. Ensure clean joints, sufficient layer thickness, and continuous sealing.
Manufacture roof connection
Integrate the flashing/connection strip into the roof waterproofing system-appropriately so that water is safely drained and the connection remains permanently watertight.
Install roof windows
Install, align, and seal roof windows according to the installation instructions. For warranty and watertightness requirements, installation according to the manual is decisive.