Walkable glass 100 x 150 cm frameless U-value 1.1
Walkable glass 100 x 150 cm frameless U-value 1.1
Hurry up, only 1 item left in stock.
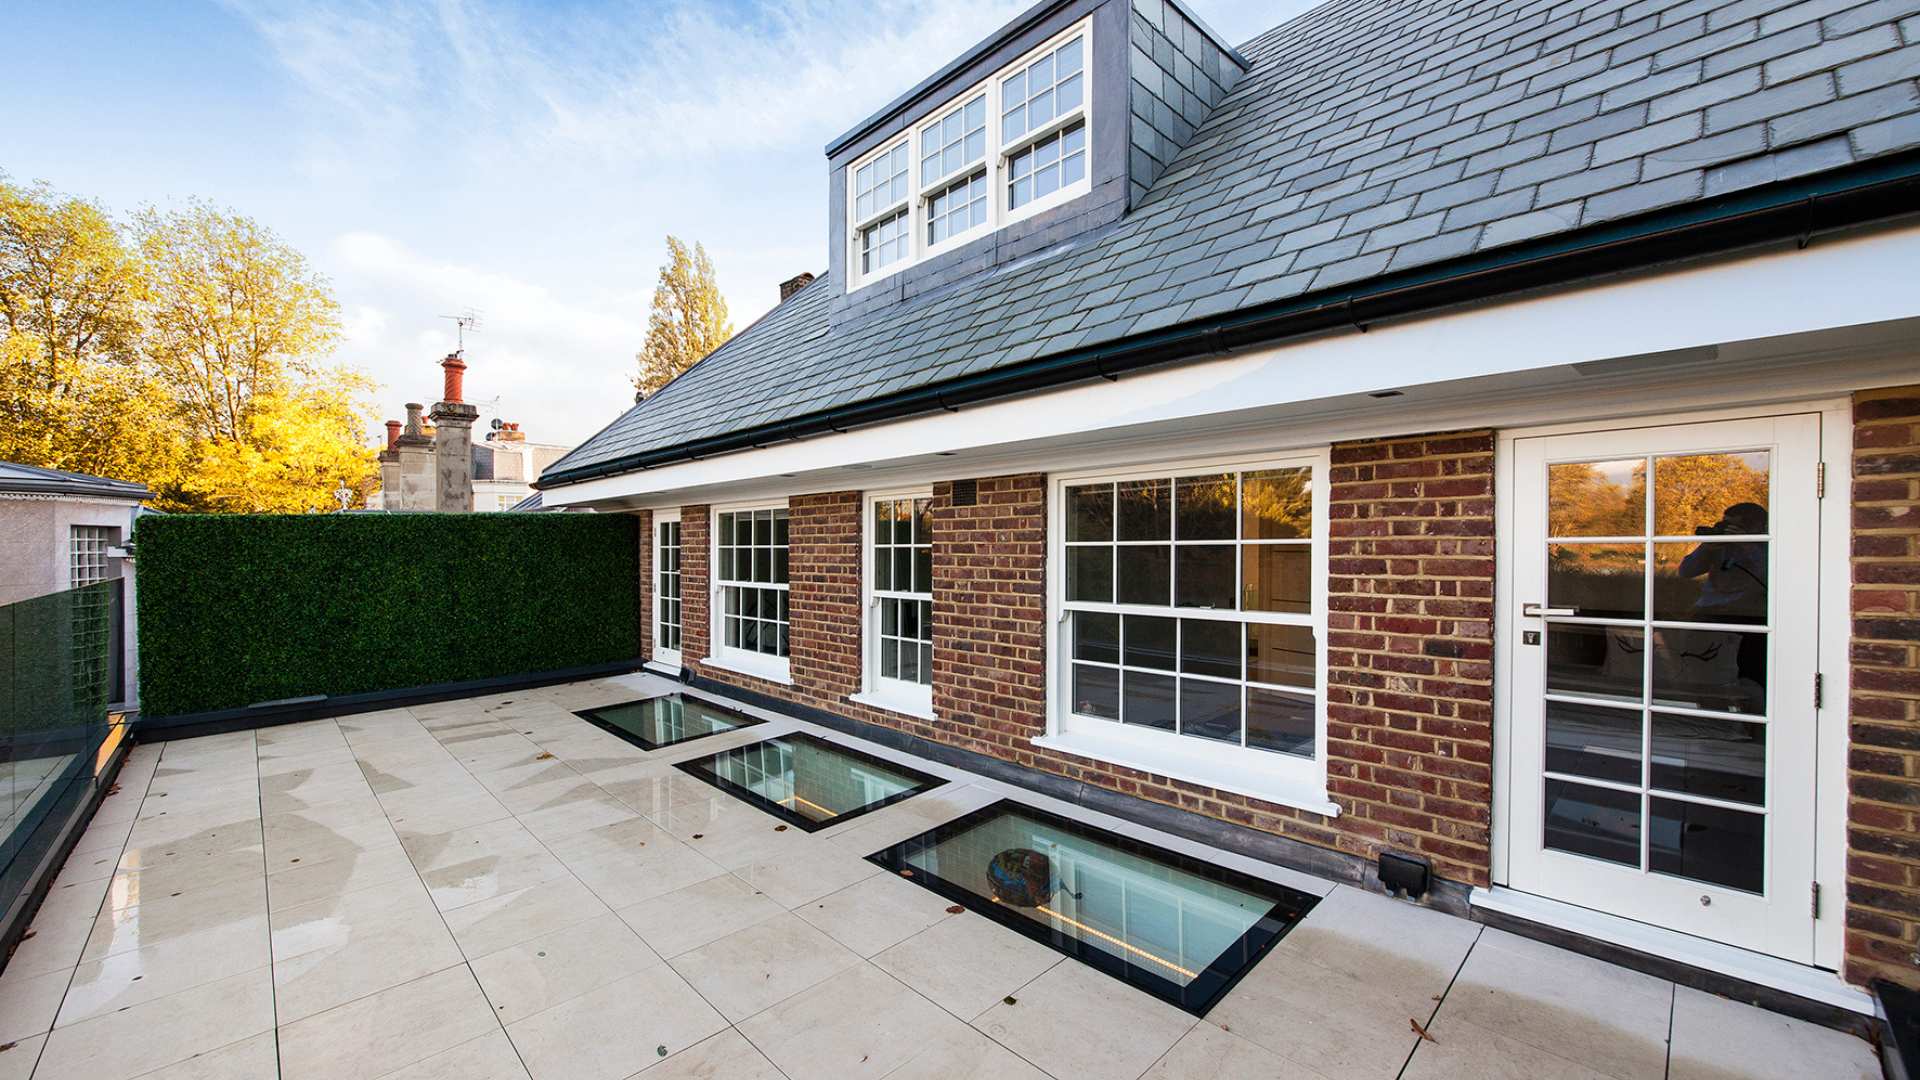
Walkable glass in 1000 × 1500 mm. For walkable roof areas, terrace or skylight solutions (project-dependent).
Technical specifications
- Dimensions: 1000 × 1500 mm
Advantages
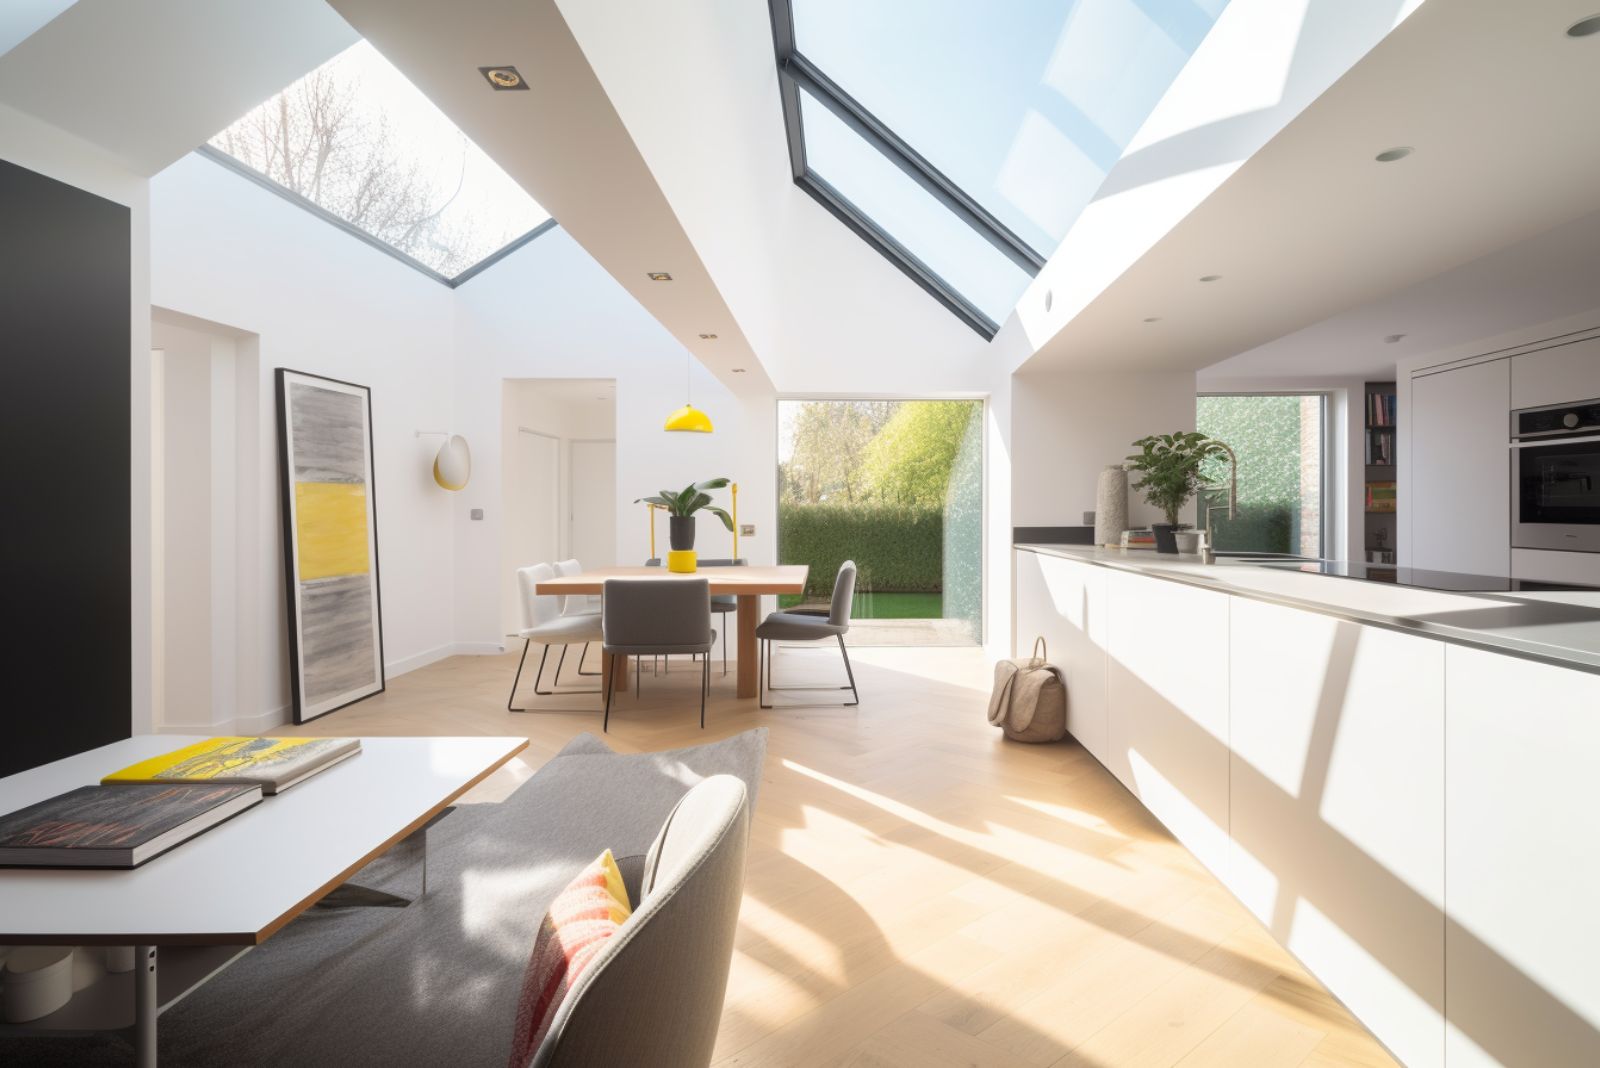
- Light from above with simultaneously usable area
Notes
- Plan load-bearing capacity/substructure and standard requirements on a project-specific basis.
-
Delivery time: Jul 08 - Jul 12
Don't miss out: This offer is for a limited time only and while supplies last.
Technical Data & Glazing
Technical Data & Glazing
- Type of glazing: Double glazing
- Outer pane: Stratobel Clearlite 888.4 (thermally toughened/hardened)
- Inner pane: 6 mm iplus 1.1 (thermally toughened/hardened)
- Cavity: 20 mm, approx. 90% argon filling
- U-value (EN 673): 1.1 W/m²K
- Light transmittance (EN 410) τv: 74%
- External reflection (EN 410) ρv: 11%
- Internal reflection (EN 410) ρvi: 12%
- Color rendering index (EN 410) Ra: 95%
- g-value (EN 410): 49%
- Shading Coefficient (EN 410) SC: 0.56
- Selectivity (EN 410): 1.51
Note: Characteristic values may vary slightly depending on the design/glass structure. The data in the respective product are decisive.
Installation Instructions & Upstand
Installation Instructions & Upstand
The specified dimension refers to the clear dimension (internal dimension). In this system, the upper pane extends beyond the opening on all sides (typically: +100 mm per side), so the visible external dimension is usually +200 mm larger. Please check the exact dimensions in the respective product.
- Upstand: min. 150 mm above the finished roof surface
- Pitch: approx. 8–10° or sufficient roof pitch to prevent water accumulation
- Opening dimension: Clear dimension + approx. 10 mm (tolerance, all around)
- Support: level, load-bearing, free of tension; bearing surfaces clean/dry
- Underlay: pressure-compensating spacer/sealing tape (e.g., round cord/glazing tape) recommended for tension-free support
- Sealing: Lead the roof waterproofing professionally up to the upstand; adapt connection details to the roof structure
Practical tip: Before final bonding/sealing, perform a brief water test (drainage, pitch, no standing water).
Shipping, Delivery & Unloading
Shipping, Delivery & Unloading
Nationwide delivery: free of charge. Delivery will be made by parcel service or specialized freight forwarder with notification (by phone/SMS), depending on product weight/size.
- Standard sizes (stock items): usually 2–8 working days
- Custom-made designs / Individual sizes: usually 3 to 6 weeks (after technical clarification)
- Delivery: "curbside" unless otherwise agreed
- Unloading: to be provided by the customer (suitable helpers/unloading aids depending on weight)
Important note: Please check goods for completeness and transport damage upon delivery, note any damage directly with the driver and also report by e-mail before assembly/processing takes place.
Your payment details will be processed securely. We do not store credit card information and have no access to your card data.
Installation of the walk-on glass element in 6 steps
For a permanently sealed result, upstands, slopes, and a stress-free support are crucial. The walkable, frameless glass element is aligned on the prepared upstand, sealed, and then professionally connected to the roof waterproofing.
Note: Fasteners, substructure material, and roof waterproofing membranes are to be provided on site depending on the roof structure.
Check opening & dimensions
Check clearance, external projection and tolerances based on product specifications. Create an accurately sized opening and clean edges/surfaces.
Form cove
The upstand must be at least 150 mm above the finished roof surface. Ensure evenness, load-bearing capacity and gradient.
Prepare the roof waterproofing
Extend the roof waterproofing up to the curb, ensuring proper execution. Adapt connection details to the material system (e.g., bitumen/EPDM).
Setting Bearings & Sealing Strip
Prepare contact surfaces to be free of tension. Use pressure-equalizing spacer/sealing tape (e.g. round cord/glass setting tape) for even load distribution.
Insert & Align Glass
Lift and position the element using suitable suction cups. Check alignment, ensure uniform joints, and seal according to system specifications.
Final Connection & Testing
Complete final sealing/connection to the roof surface. Perform visual inspection and brief water test (drainage, slope, watertightness) before approval.