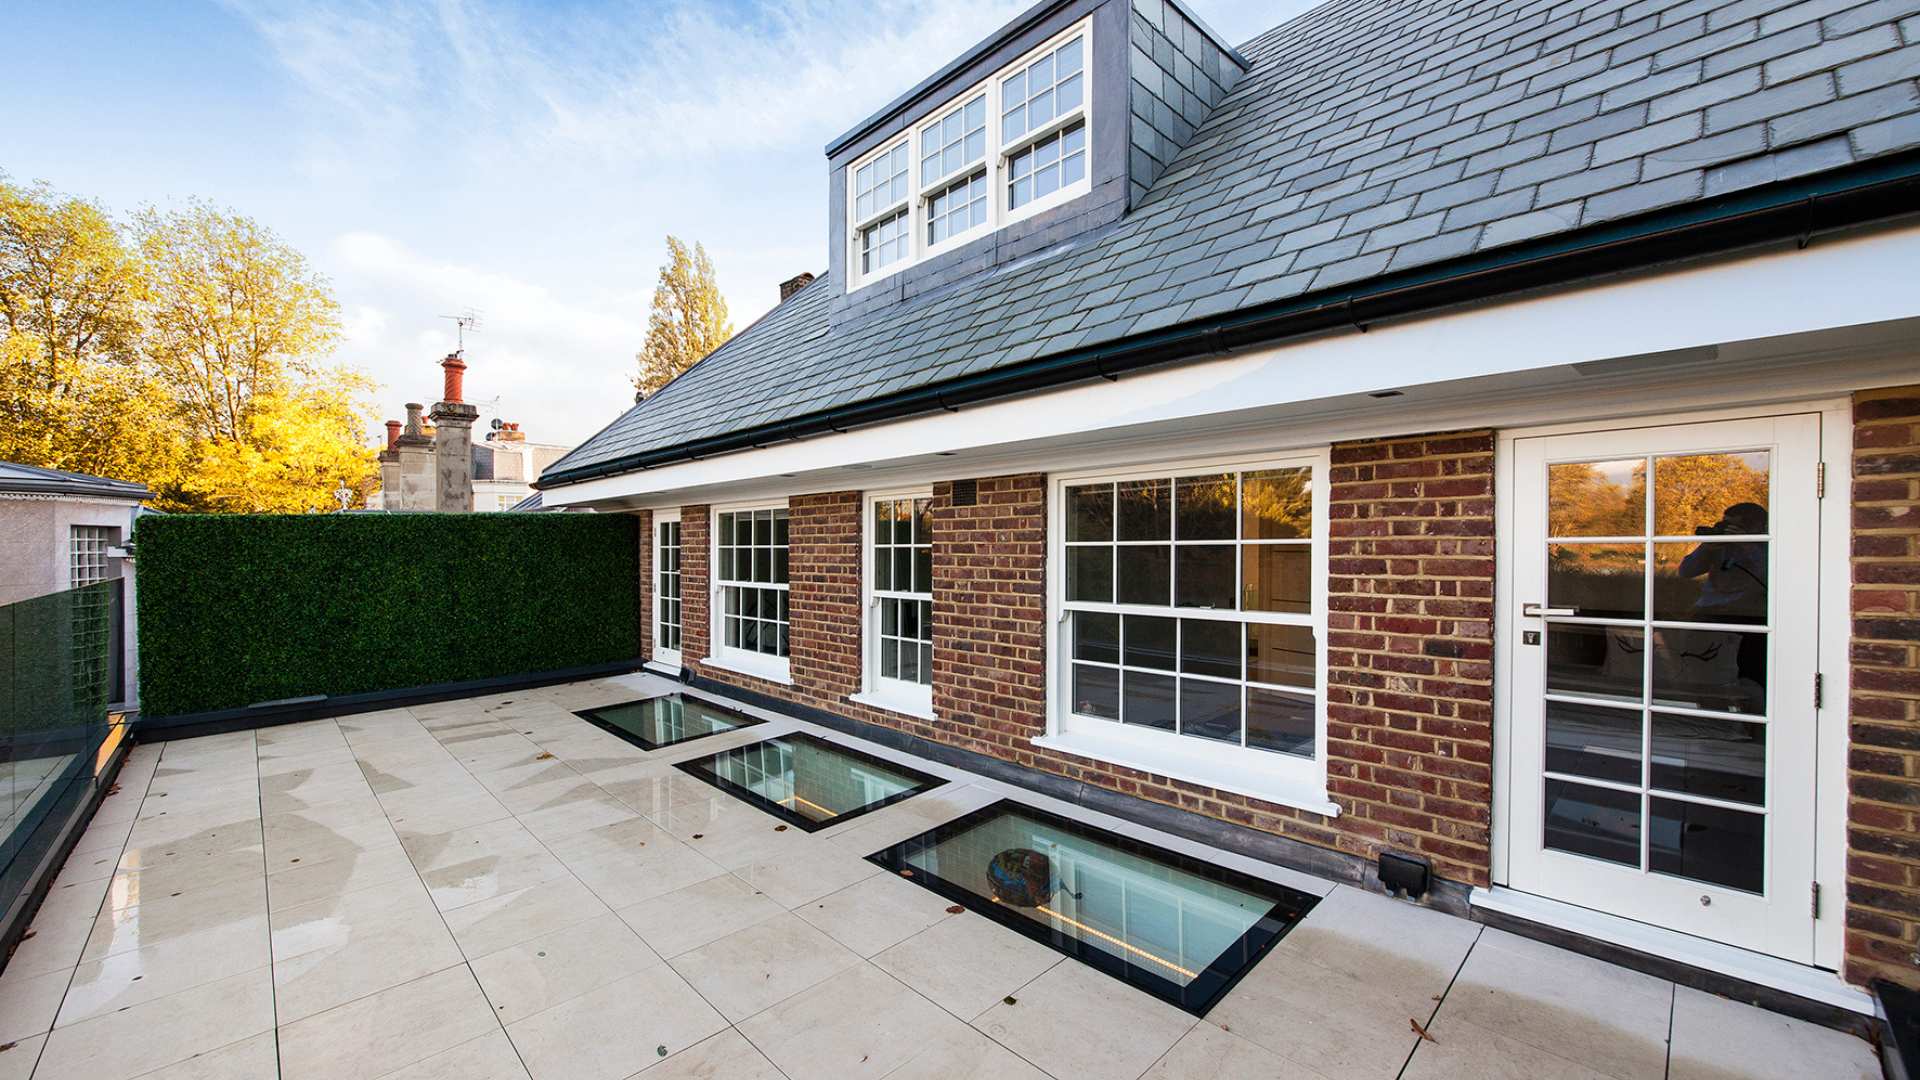
Insulated upstand 120 x 200 cm OSB for flat roof
Insulated upstand 120 x 200 cm OSB for flat roof
In stock
Insulated upstand made of OSB for flat roof windows – suitable for window size 1200 × 2000 mm. For clean connections and reduced thermal bridges.
Technical Key Data
- Application: Flat roof construction, new build & renovation
- Function: defined connection height & insulation edge
- Suitable for: Flat roof windows · 1200 × 2000 mm
Advantages
- Reduce thermal bridges due to insulated construction
- Predictable installation with clean sealing connection
- Perfectly fitting for the respective window size
Notes
- Clarify roof structure (construction height/sealing) and desired inclination/drainage in advance.
- If unsure: describe the roof structure – we will recommend the appropriate version.
-
Delivery time: Jul 08 - Jul 12
Don't miss out: This offer is for a limited time only and while supplies last.
Technical Data
Technical Data
- Product type: Insulated upstand
- Material: OSB construction (exterior) with insulating core
- Area of application: Mounting for a flat roof – defines the connection height and support surface
- Dimensions: Suitable for the ordered roof window size (internal dimension/connection dimension per variant)
Note: The information in the selected variant and any drawings/documents are authoritative.
Installation & Sealing - briefly explained
Installation & Sealing - briefly explained
1) Preparation (on-site)
- Create roof cutout and load-bearing substructure
- Ensure bearing surfaces are even, clean, and dry
2) Place & align upstand
- Position the upstand precisely and align it horizontally
- Secure mechanically (fasteners according to roof structure/substrate)
3) Connect roof waterproofing
- Connect roof waterproofing (e.g., foil/bitumen/EPDM) to the upstand according to the system
- Execute connection details such that water is safely drained
4) Install roof window
- Install, seal, and secure the roof window according to the installation instructions
Important note: For watertightness and function, proper execution according to the installation instructions and roof waterproofing system is crucial.
Versand & Lieferung
Versand & Lieferung
- Free shipping nationwide within Germany (unless otherwise indicated in the shop)
- Delivery time: Stock items usually 2–8 business days; non-stock/custom items usually 3–6 weeks
- Notification: possible by phone/SMS/email depending on the service provider
- Freight forwarding: Delivery usually to the curbside; ensure unloading aids/personnel are available on-site
Note: Please check the goods upon delivery and document any visible damage immediately (delivery note/scanner + photo/video) and coordinate with us before assembly.
Your payment details will be processed securely. We do not store credit card information and have no access to your card data.
Step by step: Install upstand, seal, and prepare roof window
The upstand curb forms the defined base for roof waterproofing and window support. With suitable connection and mounting components, the connection to the roof waterproofing can be carried out cleanly and reproducibly – matched to product size and roof structure.
Note: Screws/fasteners and on-site sealing membranes (e.g., EPDM/bitumen/foil) are – depending on the substrate – not automatically included.
Prepare components
Lay out all set components ready for use. Ensure surfaces in the connection area are clean, dry, and load-bearing.
Check upstand/opening
Construct upstand / substructure according to roof structure and check for evenness. Account for tolerances for stress-free installation.
Apply glazing tape
Place the structural glazing tape stress-free and all-around on the intended support surface – as a defined, damping support.
Apply sealant
Apply sealant all around according to manufacturer's instructions. Ensure clean joints, sufficient layer thickness, and continuous sealing.
Install roof connection
Integrate the connecting strip/flashing system-appropriately into the roof waterproofing so that water is safely drained and the connection remains permanently sealed.
Install skylights
Install, align, and seal the roof window according to the installation instructions. For warranty and watertightness requirements, installation according to the manual is decisive.